One job, start to finish
Every piece is different, but the run of it doesn't change much: understand the problem, measure, model, print, test, use. Rather than describe that in the abstract, here's one real job followed all the way through.
Problem
Something doesn't exist, or doesn't fit.
Measure
Callipers out. The part hangs on the numbers.
Model
Built in Shapr3D, sketch by sketch.
Print & test
Print it, fit it, find what's wrong, change it.
In use
On the bench it was made for.
The jar funnel that didn't exist
A beekeeper came to me with a problem rather than an order. He had the jars he wanted to use, and every time he moved cappings into them he ended up wearing half of it — wax on the rim, down the glass, across the bench. Nothing on the market fitted those jars, so the only fix was to make one.
Every dimension came off his jar. The thread was modelled from scratch to match it, so the funnel screws straight on and stays there — both hands free to scoop.
Measured from the object. Modelled for the problem. Printed for one person.
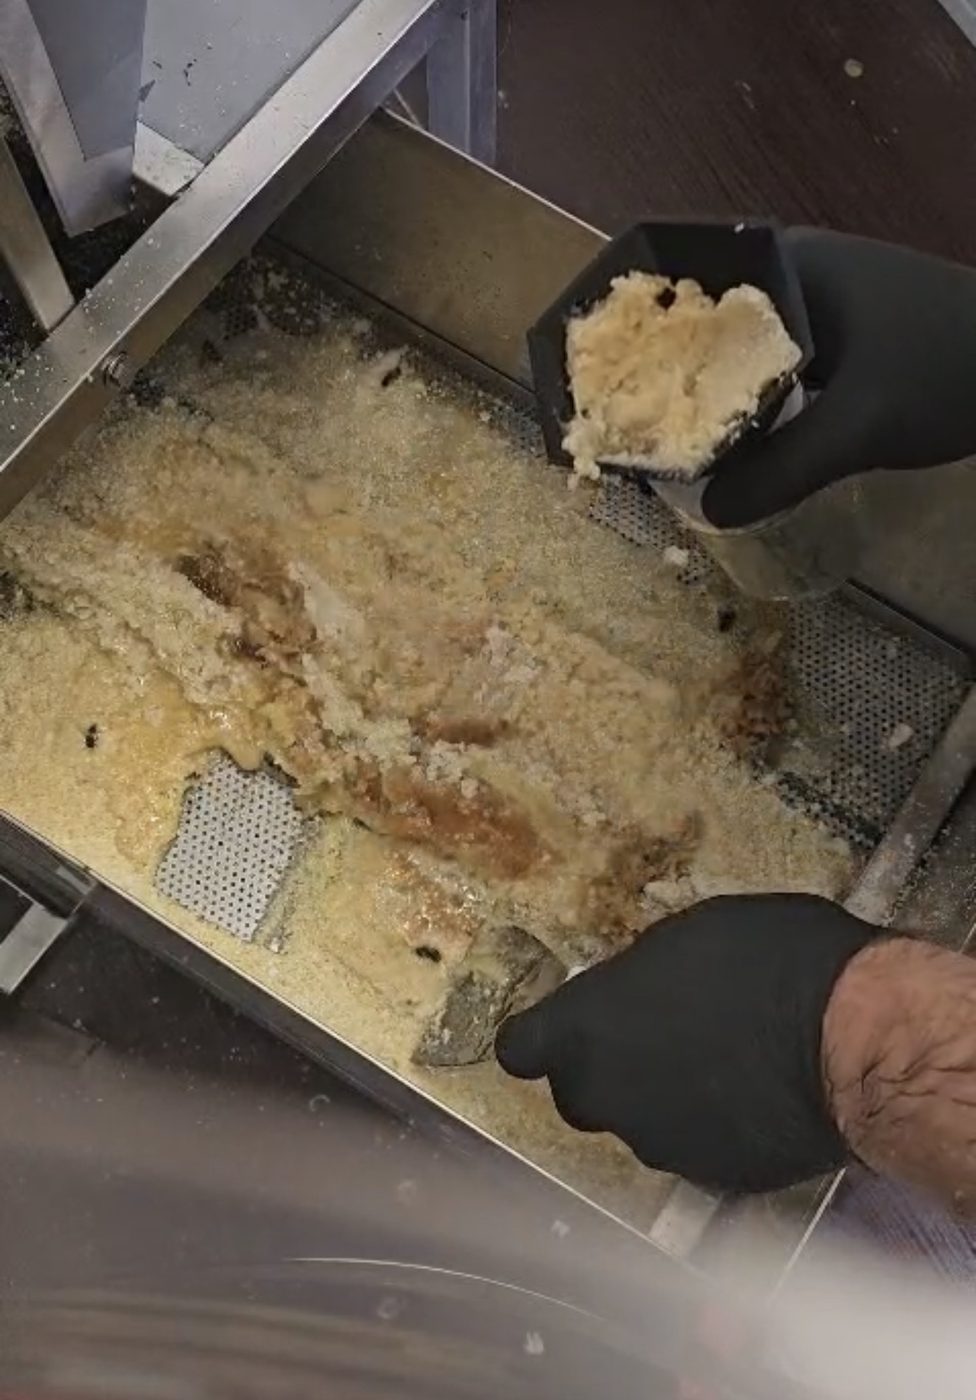
The problem
Cappings come out of the uncapping tray wet and heavy, and getting them into a jar means one hand scooping and one hand steadying. It ends up on the rim, down the glass and across the bench. The funnels he could buy were too small, too loose, or wouldn't fit his jars.
Measure
Rather than ask him to change jars, I built the funnel around the ones he already had. Callipers on the neck — thread diameter, pitch, how much engagement there was to work with. A funnel that nearly fits is a funnel that leaks.
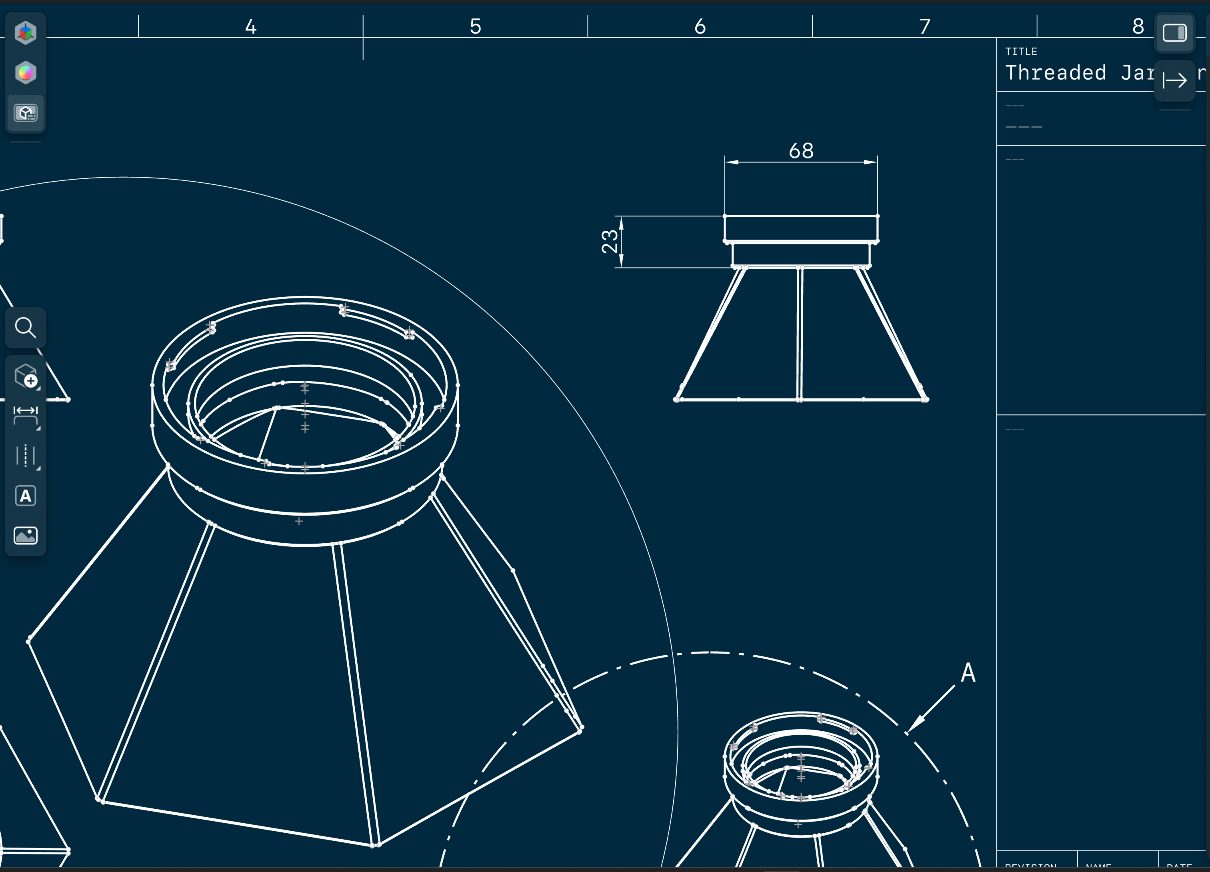
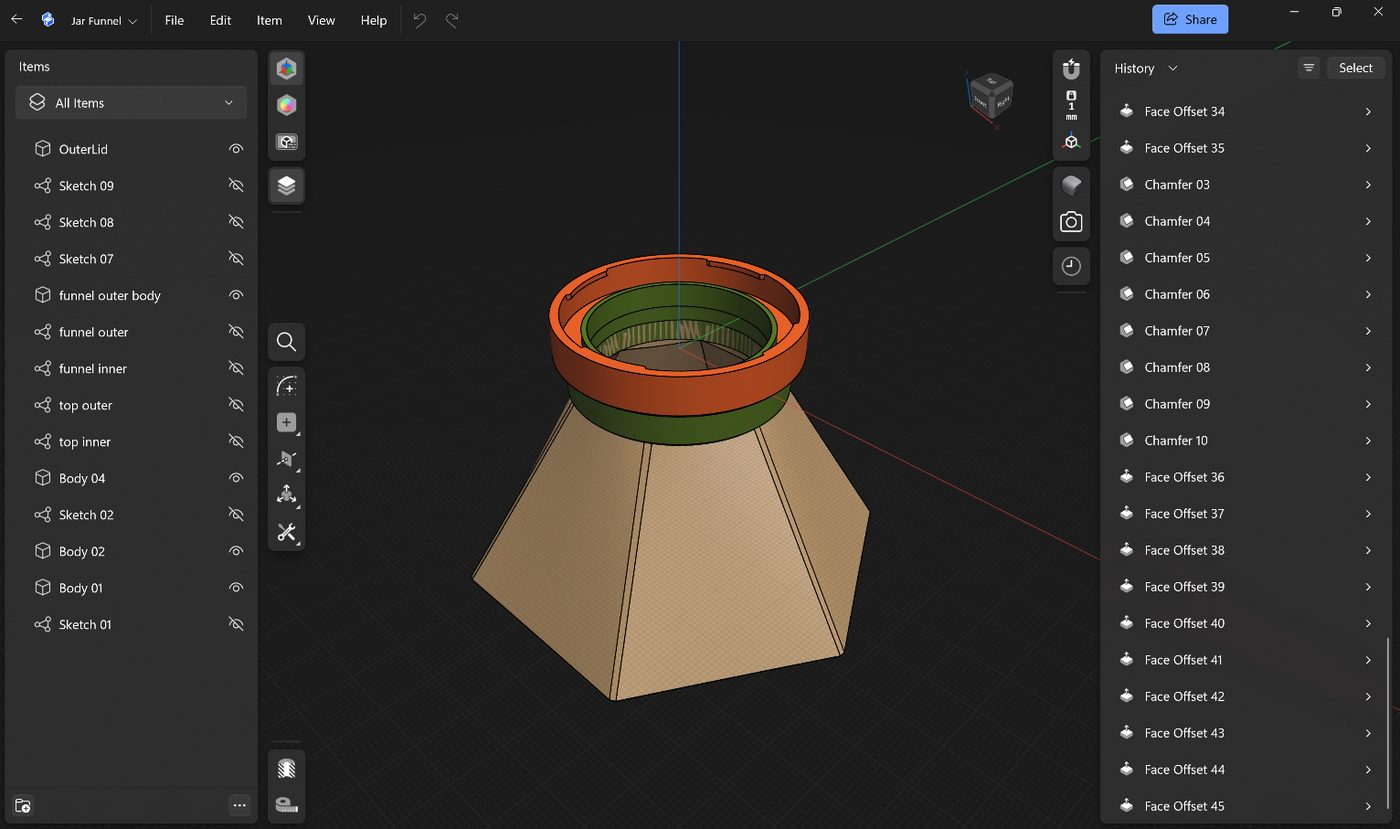
Model
Modelled from scratch in Shapr3D. A threaded collar cut to match that jar, a wide hexagonal mouth to give the scoop somewhere to go, and walls thick enough to handle with gloves on. Nine sketches, ten chamfers, forty-odd face offsets.
It had to come off the printer as one part, thread and all. Splitting it up and assembling it would put joints through the funnel and weaken the exact thing it's there to do — so the whole geometry is built around printing whole.
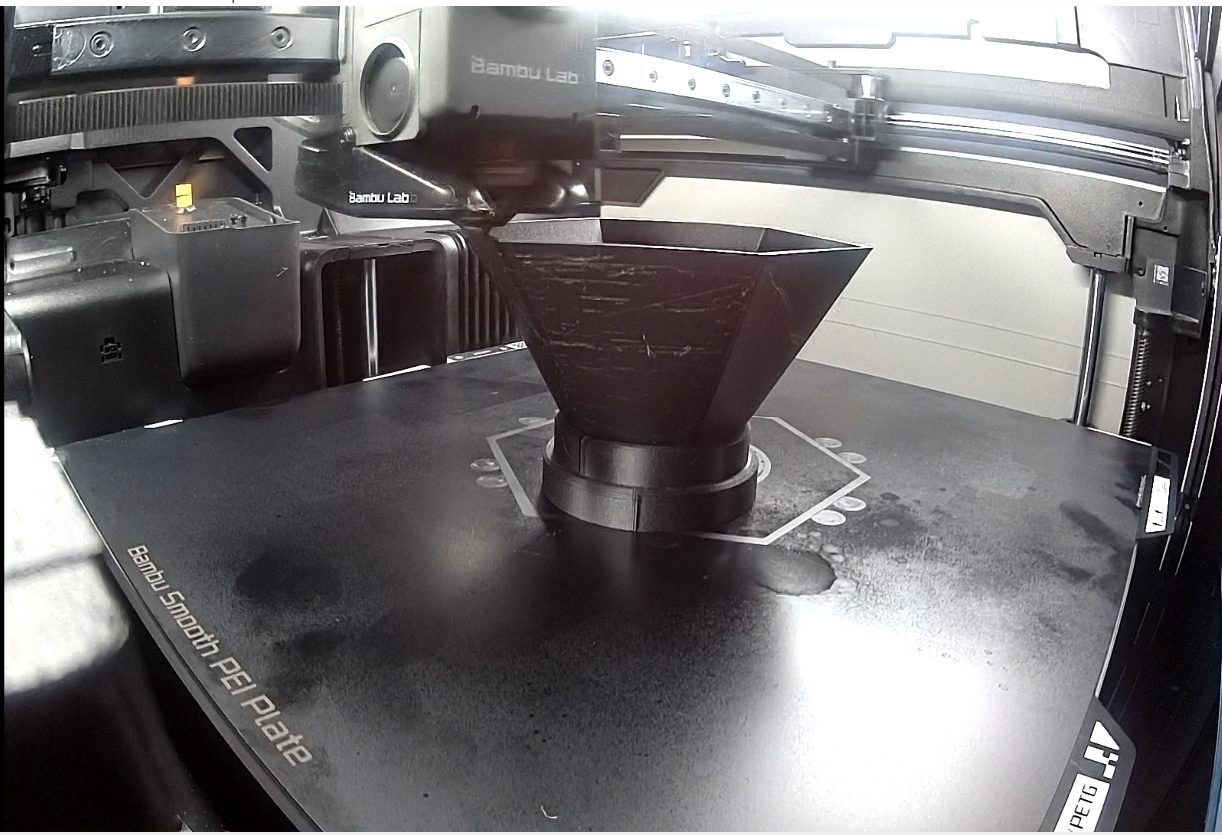
Print & fit
Onto the printer as a single part, no assembly. Print it, screw it on, check the engagement, adjust, print again.
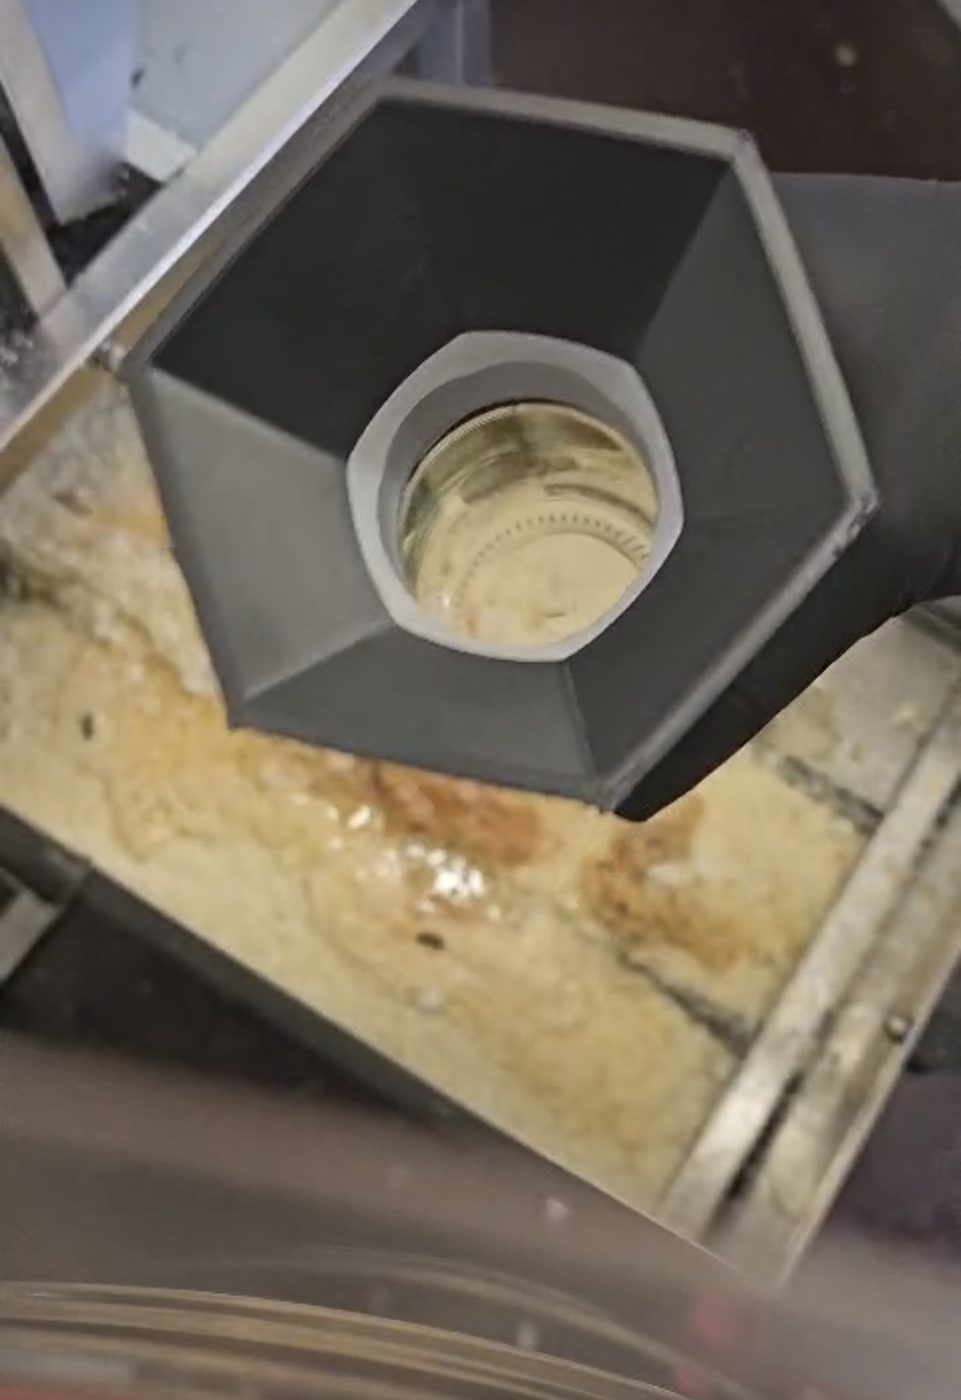
In use
It screws onto the jar and stays there. Both hands free to scoop, and the cappings end up in the jar instead of on the bench.
The details
See it happen, not just the result.
The feed shows work as it happens — including the tests and the prints that didn't make it.
Open the feed →